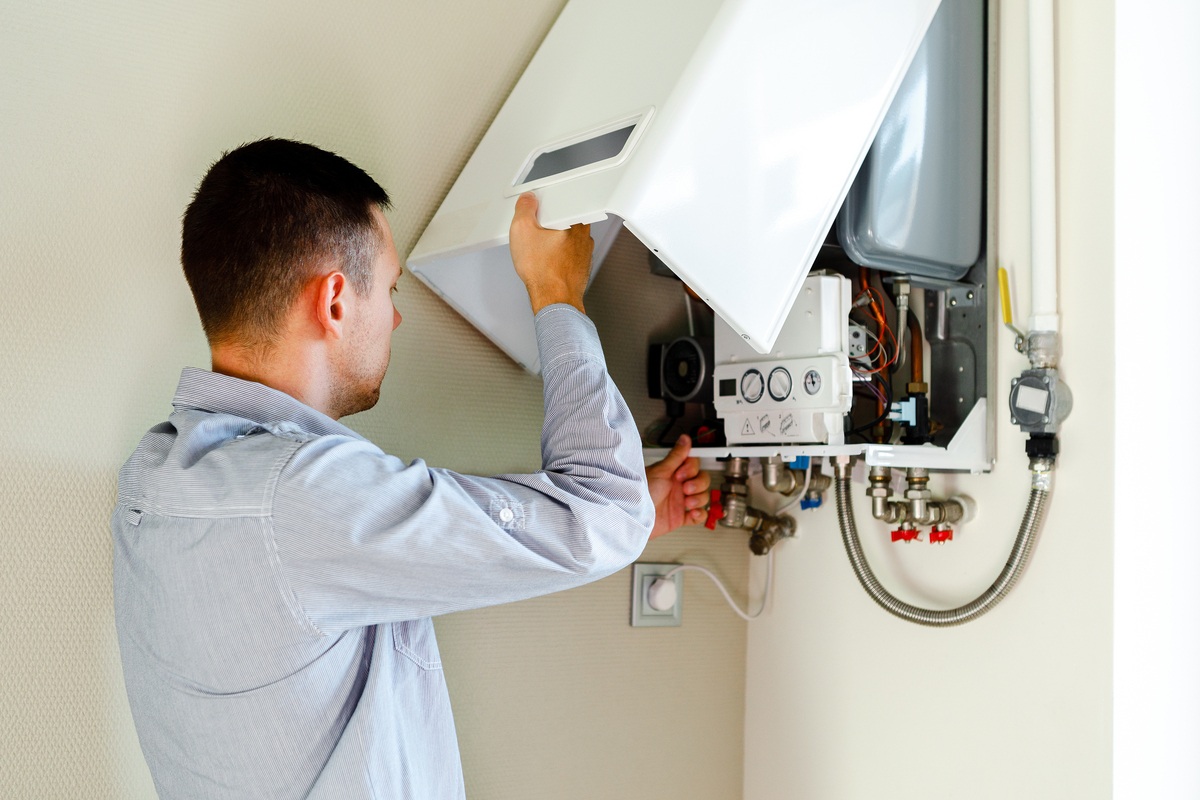
Turning on your hot water tap and getting cold water usually means your pilot light is out. This small flame ignites the burner in your water heater, and without it, there’s no hot water. Luckily, relighting your pilot light is something you can do with a bit of guidance. In this post, we’ll take you through the process step-by-step, ensuring you can do it safely and efficiently.
What is a Pilot Light?
A pilot light is a small, continuously burning flame inside your water heater that ignites the main burner whenever hot water is needed. Most modern water heaters have a standing pilot light unless you have a tankless system. If your pilot light goes out, you won’t have hot water, making it crucial to understand how to relight it.
How to Relight Pilot Lights
Relighting your pilot light involves a few key steps. Here’s a simple guide to help you get it done:
1. Turn Off the Gas Valve:
Locate the gas valve on your water heater and turn it to the “Off” position. This ensures no gas is flowing to the pilot light while you work.
2. Wait for Gas to Dissipate:
After turning off the gas, wait for about 10 minutes. This allows any residual gas to dissipate, reducing the risk of accidental ignition.
3. Find the Pilot Light Assembly:
The pilot light assembly typically includes the pilot light itself, the thermocouple, and the gas valve. You may need to lie on the ground and look through a small window to see the pilot light.
4. Ignite the Pilot Light:
- Older Models: If you have an older water heater, you can use a lighter to ignite the pilot light.
- Newer Models: Newer water heaters often have a piezo igniter. Press and hold the igniter button while watching through the window until you see the pilot light ignite.
5. Hold the Gas Valve Button:
Once the pilot light is lit, continue holding the gas valve button for about 30 seconds. This ensures the thermocouple gets hot enough to keep the gas valve open.
6. Release the Button:
Slowly release the gas valve button. If the pilot light stays lit, you’ve successfully relighted it. If it goes out, you may need to repeat the process or replace the thermocouple.
Troubleshooting Tips
- Thermocouple Issues: If the pilot light doesn’t stay lit, the thermocouple might be faulty. This component ensures the gas valve stays open only when the pilot light is burning. Replacing it can often solve the problem.
- Gas Valve Issues: If you hear the magnet in the gas valve drop out, it means the pilot light isn’t holding the valve open. In this case, follow the relighting process again.
Safety When Relighting Pilot Lights
Relighting a pilot light can be hazardous if not done correctly. Here are some safety tips to keep in mind:
1. Avoid Continuous Attempts:
If the pilot light doesn’t ignite on your first attempt, wait for at least 10 minutes before trying again. This allows any gas to dissipate, preventing dangerous gas buildup.
2. Don’t Force Ignition:
If you’re repeatedly trying to light the pilot without success, stop and assess the situation. Continuous gas release without ignition can be dangerous.
3. Know When to Call a Professional:
If you’re unsure about the process or if the pilot light still won’t stay lit after several attempts, it’s best to contact a professional for assistance.
In Summary
Relighting your pilot light is a straightforward process that can restore your hot water quickly. By following the steps outlined above and keeping safety in mind, you can efficiently handle this task.
Remember, if you encounter any difficulties or safety concerns, it’s always best to seek professional help. Contact us for any assistance or further guidance on maintaining your water heater.


